With such a variety of picture editing tools for all different skill levels, it can seem like you would need to have design experience in order to create fantastic designs. These days though, there are plenty of free, useful, and easy to use tools, and Preview on your Mac is a great example of this. It may seem like a simple tool, but it has many more features than simply just crop and paste. Here are some of our favorite Preview hacks and tricks that will take your images to the next level.
Related Blog: Diary of a Marketer: Shortcuts for Non-Designers and Marketing Professionals
1. Take a screenshot
Hold down Command + Shift + 3 to take a snapshot of the entire screen, or hold down Command + Shift + 4 to take a screenshot of a specific selection of your screen.
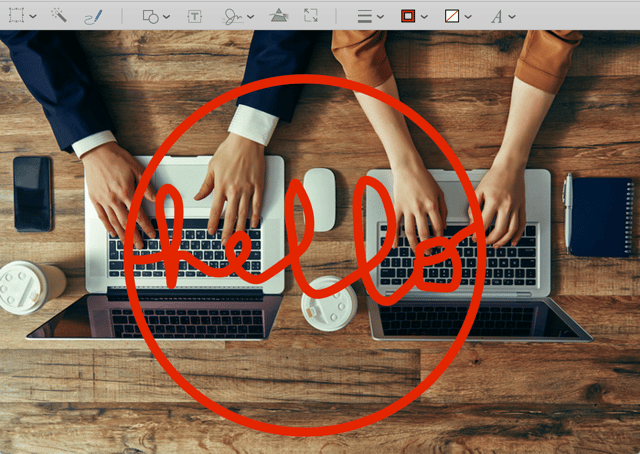
2. Use the pen tool to draw a custom design
With the pen tool, you can draw directly on your image. Use this tool not only to enhance the image design, but also to give direction or highlight a specific area of the image with circles and arrows.
3. Make perfect shapes
In preview, when drawing shapes, holding down the shift key will autocorrect your hand drawn shapes to perfect dimensions. By holding down shift, your shaky oval will turn into a complete circle. Holding down shift will also lock the existing proportions of any image or shape being adjusted with the mouse.
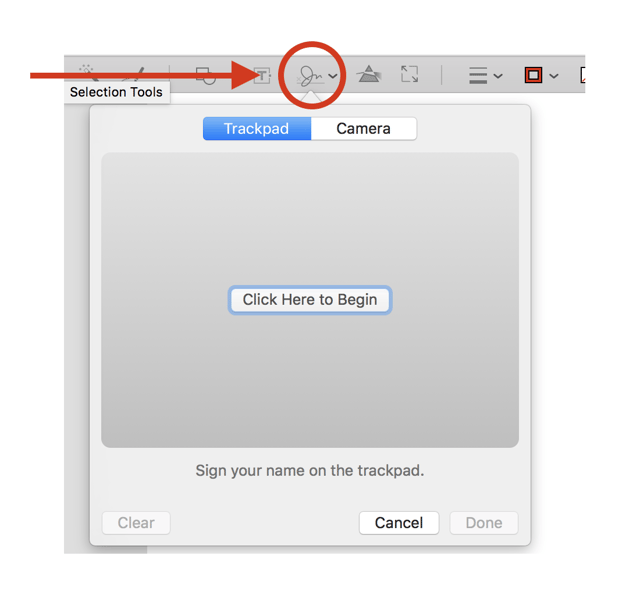
4. Sign documents
We are in the digital age. Why should you have to print out contracts and other documents to sign them? You can sign documents using Preview through the signature button. It gives you the option of signing directly through a trackpad or collecting your signature from an image.
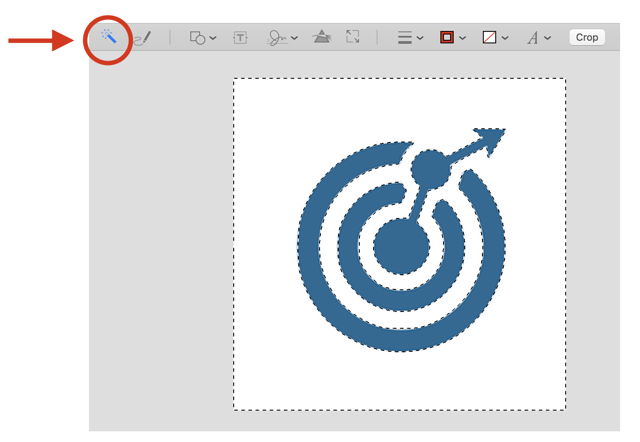
5. Magic Crop
The magic wand tool allows you to select a specific color from your image to remove. With this tool, you can delete the entire background or all the whitespace in an image to make it a transparent PNG.
6. Cut and Paste portions of your image
This tool is extremely helpful if you ever need to combine multiple photos or remove something from an image. Once you have selected the rectangular selection button, simply right click and select a portion of your image with your mouse then press delete to remove the image or copy to duplicate that selection. You can drag and drop a selection from one image to and overlay it onto another image opened in preview. When you are making changes to your image, it is always best to duplicate the original image by going to File > Duplicate.
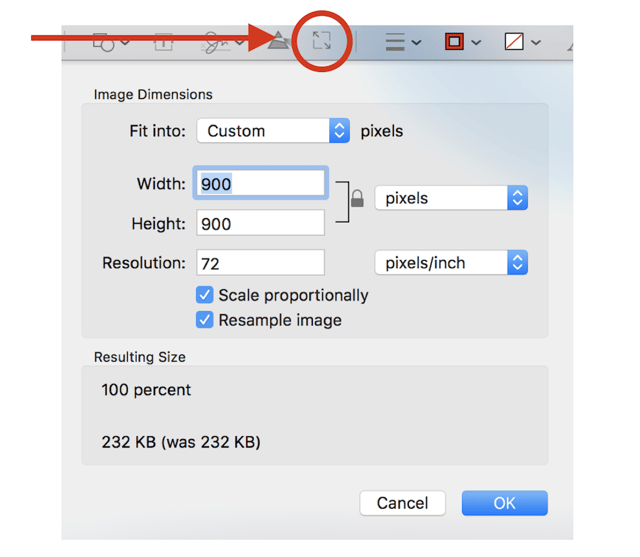
7. Adjust size and resolution
Under the tools tab, you can adjust the size and resolution of your image. Adjusting the size of images can be very helpful when you have very large, high quality images. These images will look great on your website, but if they are too large, they will load more slowly. Adjusting the size down to around 900 pixels will still allow for great image quality, but much faster loading time to maintain a good user experience.
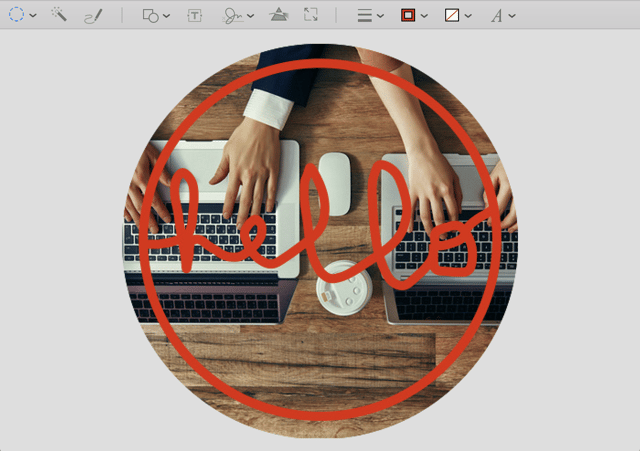
8. Make a circular logo
With the elliptical selection tool, you can make anything into a circular logo. Then, you can use this transparent PNG logo for other materials like blogs, content offers, social media, and anything else you can think of!
9. Color correction
Enhance, correct, or change the color entirely of your image with the color adjust tool. Adjust the exposure, contrast, highlights, and shadows to improve the richness of your photo. Move the color levels of the photo to change the color completely or to make small adjustments to the hue of your photo. You can set the saturation to zero to make your photo completely black and white. This quick hack can really help to improve the overall appearance of your photo. 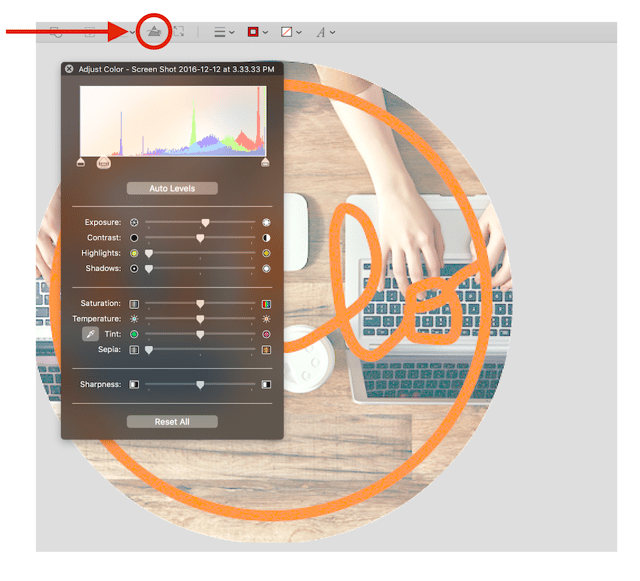
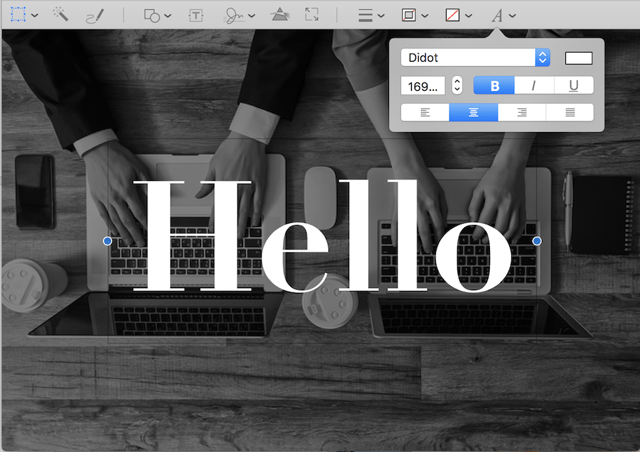
10. Add text to your image
Use the text tool to add personalized text on top of your image. Then, change the font style, size and color to match your brand or design.
For those of us who are not designers and don’t speak the language of Adobe: fear not, Preview has made it easy to make some pretty cool design enhancements to images and elements. Use these and other hacks to transform and elevate your images. And the more comfortable you get with using Preview and other photo editing tools the more tips and tricks you'll pick up as you go.
Here are some other graphic design tools for non-designers: