In the past couple of years, we spoke at Wistia Fest, Wistia’s CouchCon and HubSpot’s Partner Day about how agencies can start using video to generate success and increase brand engagement for their customers.
Related article: 20 Ways Your Business Can Use Video Everyday — Marketing Pro Tips
These efforts led us to the opportunity to work with HubSpot to create a Session for Agencies in the HubSpot Academy. This is what we have learned from working with the HubSpot Academy.

Our session as seen on the HubSpot Academy
Planning Our HubSpot Academy Session
Even though we have been doing video marketing for a long time, planning a HubSpot Academy session was a very different experience.
Writing a script for a specific audience is a very familiar process to us because we follow the rule that every video needs to have ONE goal and talk to ONE audience. So, we had to evaluate the potential audience for these videos and the goals of each one and then, from all of that, create a script that would be beneficial to that audience.
As far as planning what the videos would look like, HubSpot provided some formatting guidelines to follow which gave us the fundamental steps to decide on our setting, our tone, and our messaging.
After filming, we created the slides that would be attached to the lesson as an auxiliary learning device.
Writing The Script
When it comes to writing a script, the goal is to make sure you sound as natural as possible. Crafting the exact words to be said in a script is normally a longer process than you’d think. But, in the end, it results in a more structured lesson with the right amount of information for the audience.
Without the script, you’d end up rambling about 20 things that might be relevant but not crucial to the video. Scripting is truly the only way to target every important point in the most efficient way possible.
Shooting video with a teleprompter
In order to effectively use that script we worked so hard on, we had to find a solution where we didn’t have to memorize lines and lines. Therefore, we decided to shoot this video with a teleprompter, which brought out its own unique challenges.
First, we had to figure out how to create a teleprompter that would make us sound and look natural. That’s right -we tried to make one. This was a true trial-and-error process but, after some testing and research, we found out what worked best.
This exposed another new challenge: reading at a comfortable pace to avoid sounding robotic. After much practice with the script and timing, we nailed down the rhythm of the teleprompter process.
Our teleprompter journey
The teleprompter was the surprising obstacle in our attempts to shoot these videos. We say surprise because, on a surface level, we thought all we needed was a way to display our text on a small screen and be done with it.
That was not the case.
First, we tried rearranging some furniture to make a stand for one of our laptops that would show the script. The problem with this is that we couldn’t find a spot to place this makeshift teleprompter without making it too obvious that we were reading something well above the camera lens level.
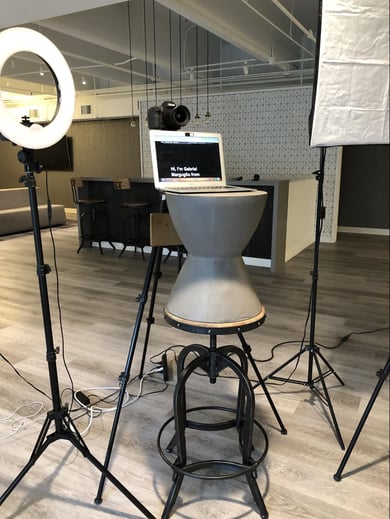 Our first, rugged, attempt at creating a teleprompter
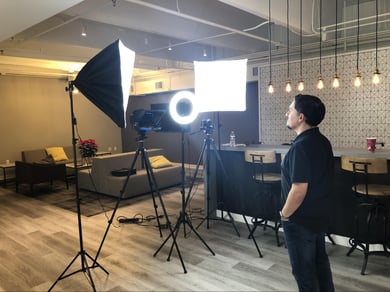
For our second attempt, we got a slightly larger sized screen...one of our office desktops, in fact.
This was so we could set up the monitor further behind the camera to keep a natural eye level, but still on a large enough display to be easily read from a distance.
This didn’t work either.

Attempt #2 involved a bigger screen and some more creativity
Finally, we gave up and started our research on purchasing a teleprompter setup.
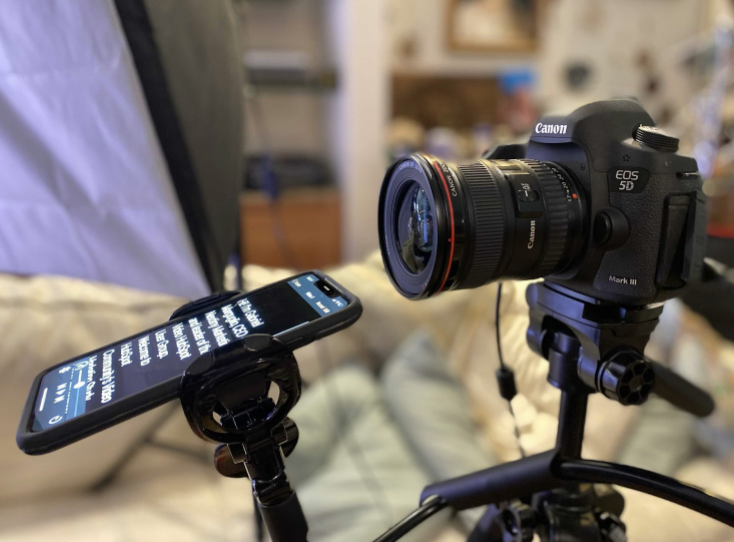
We were lucky to have quickly found the GlideGear Teleprompter and we saw great reviews for the Parrot app to use as the script player.
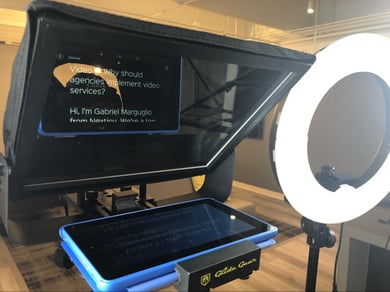
 Our third attempt provided the professional quality that we wanted
The best part about the GlideGear? It mounted directly onto our tripod and, with its glass front, allowed the camera to film right through it; this allowed us to keep Gabriel's eyes directed at the camera, and the audience, rather than constantly glancing off to the side or away from the camera throughout the video.
After our two previous trials, this really was a no-brainer purchase and it worked exactly as we hoped!
.gif)
An example of how Gabriel was forced to look away to read our homemade TelePrompTers, something the GlideGear fixed
Once we completed the video production and slides, we were able to move on to creating engaging questions for our HubSpot Academy lessons.
Shooting and Editing
With our multiple teleprompter trials came multiple different shoots; luckily, practice made perfect and we came out having learned a lot.
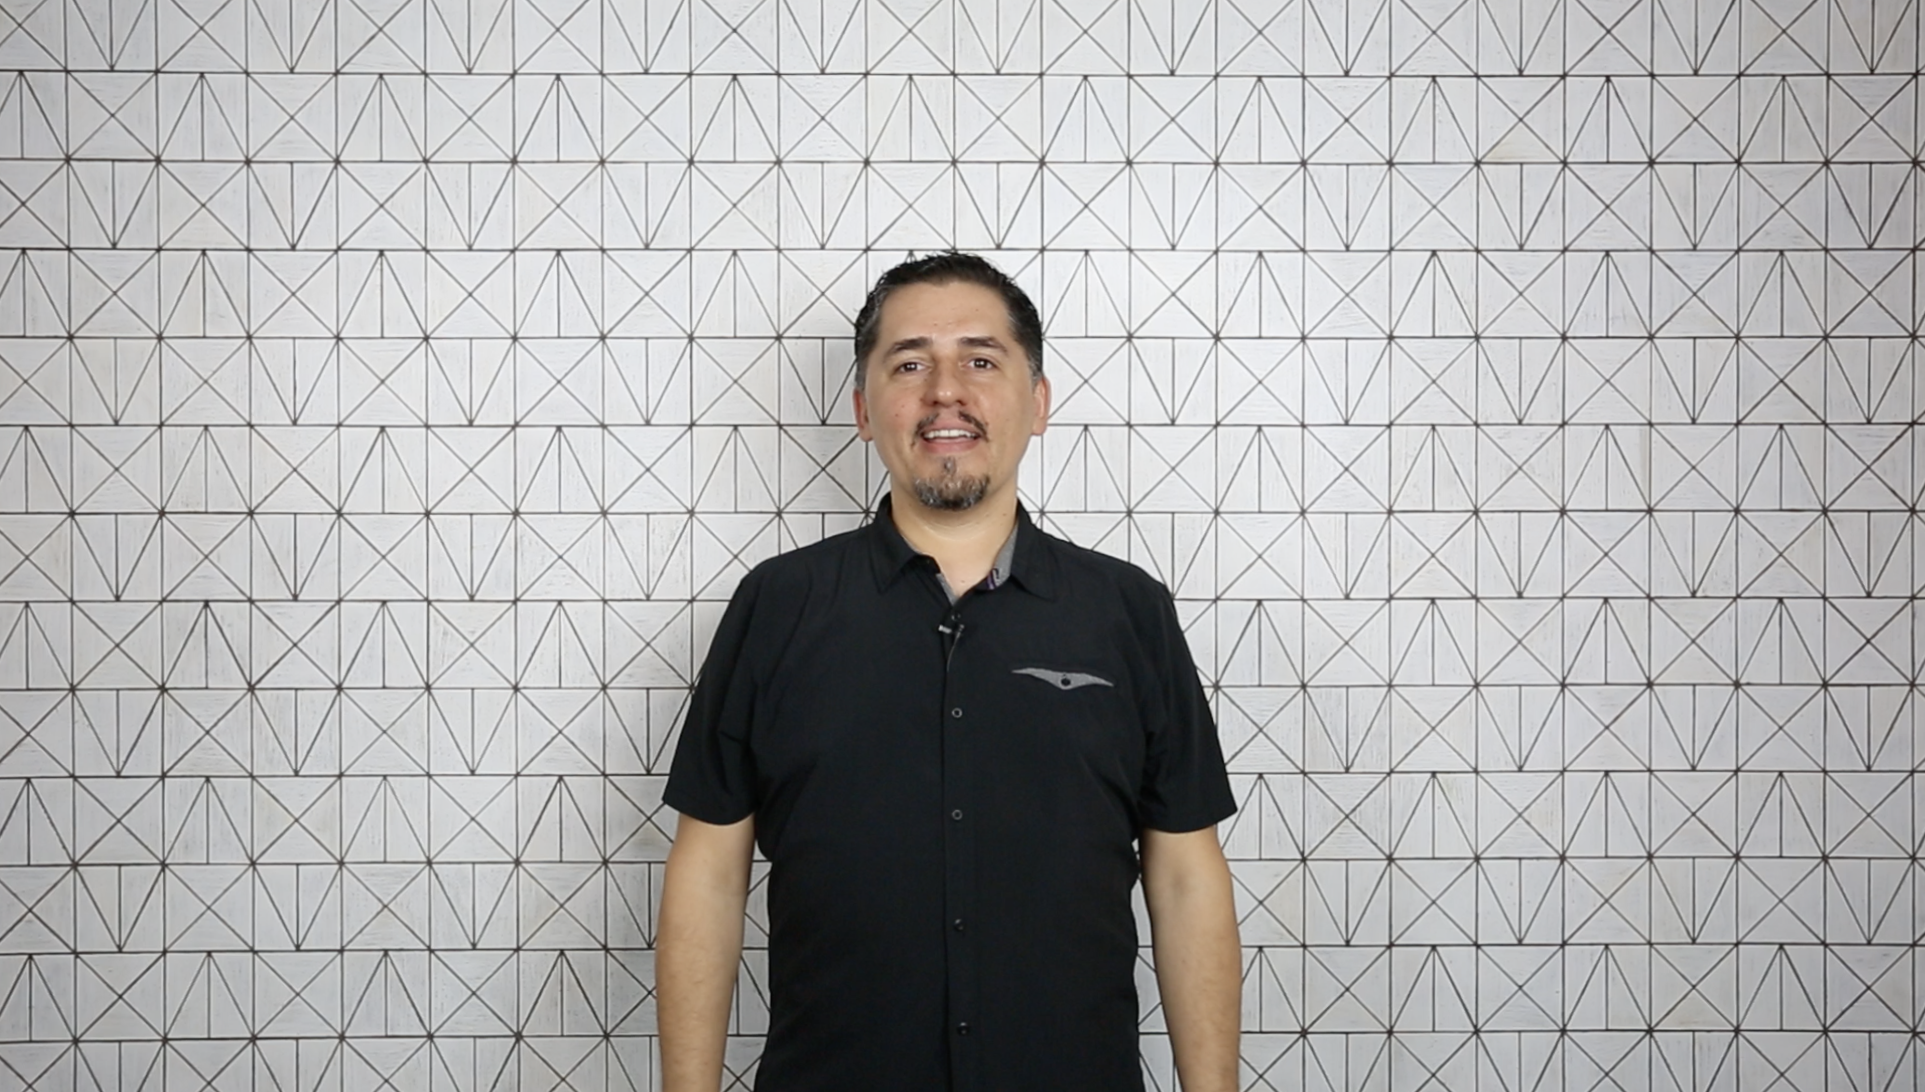
Take #1: We first tried shooting the videos in front of a blank white wall thinking that we wanted the video to act as a neutral canvas for all of the animations and slides we were planning to add. However, the space we were working with was somewhat limited and hindered the depth of our shot; this resulted in it feeling too bland. So, we went back to the drawing board.

Take #1 on a blank background
Take #2: For our second go-round, we tried a textured background. Unfortunately, this was now too busy and noisy.
Take #2 with a textured background
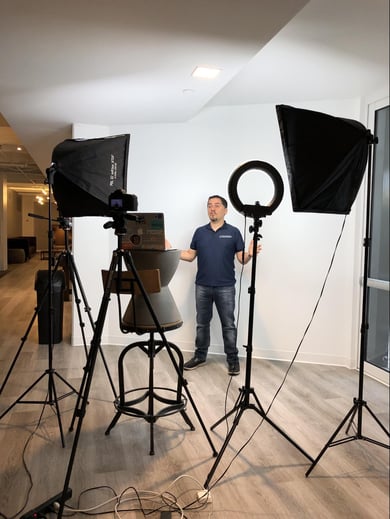
Take #3: Finally, we decided on an open background to get some nice depth of field for our shot. This also gave us some room to improve our lighting and setup. This is also a common setting in some of our native videos, making the video a bit more “us.”
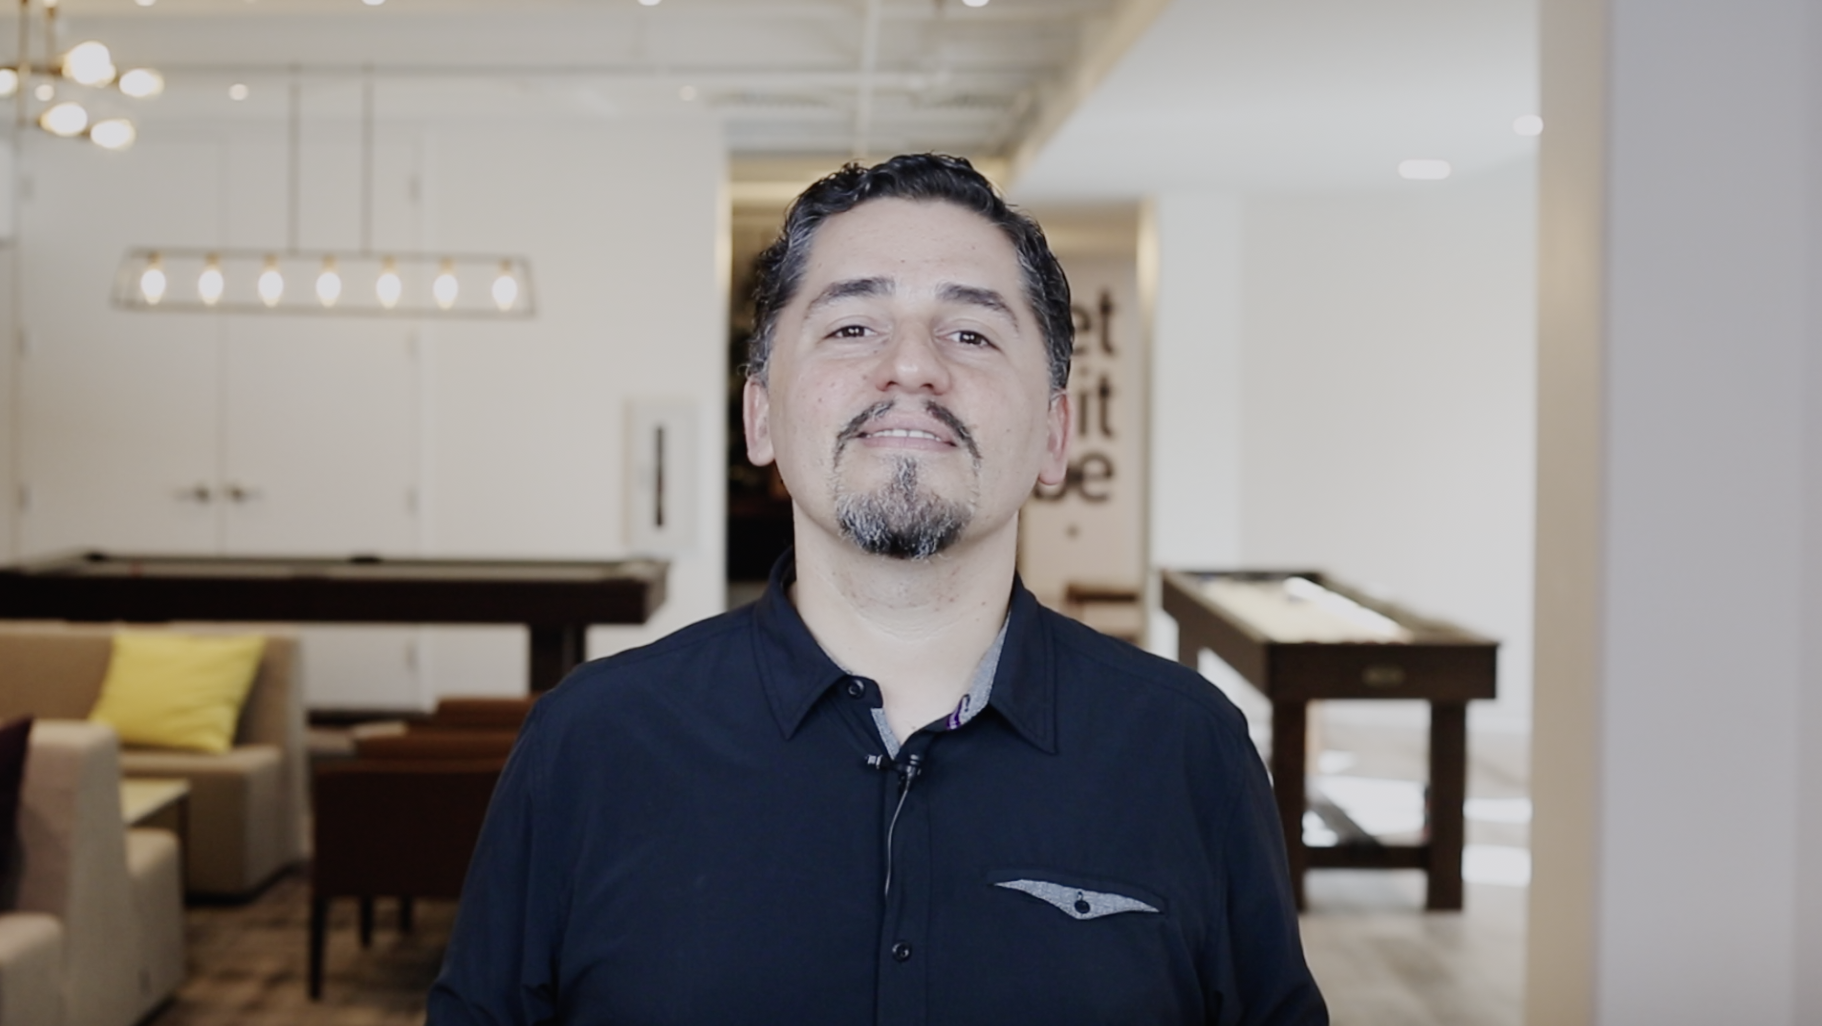 Take #3 with an open background
Once we got it into the editing room, we tied in some other native elements such as some of our company b-roll, our fonts, and some of our branding colors to keep some of the Nextiny identity alive throughout the video.
Every agency has their own voice and style and we were really proud to keep ours even through this scripted educational content.
Creating slides for the session
Creating the slides was very easy once the videos were approved since they were based on them.
We used HubSpot Academy’s template which not only gave us guidelines but also provided us with a variety of designs to keep the slides from looking too similar.
The process of creating the slides was smooth. We tailored them to work with the completed videos and made sure to gather all the key terms, phrases, and steps that could be isolated into individual slides to better help the viewer learn and interpret the information.
After some reviewing and approvals from both our internal team and the HubSpot Academy, we were thrilled to see the final product come to life just a few short months later.
Update 2021: Teleprompter Hack
- Use your phone as a teleprompter
- Several Apps available that work well
- Teleprompter kits / phone set-up
- Good starting point for a guide
- Do several takes so it reads natural.